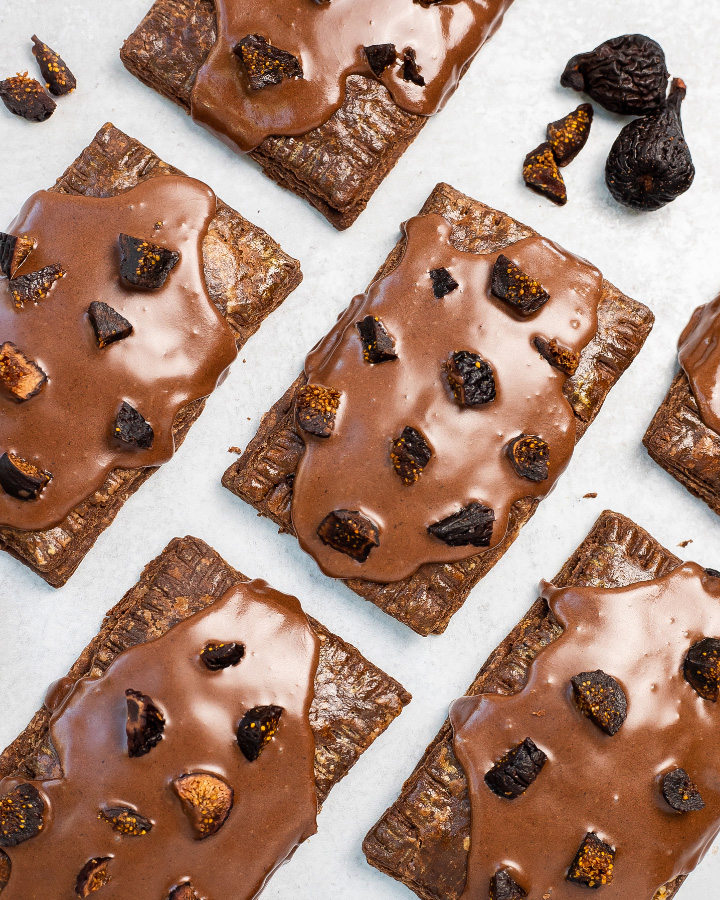
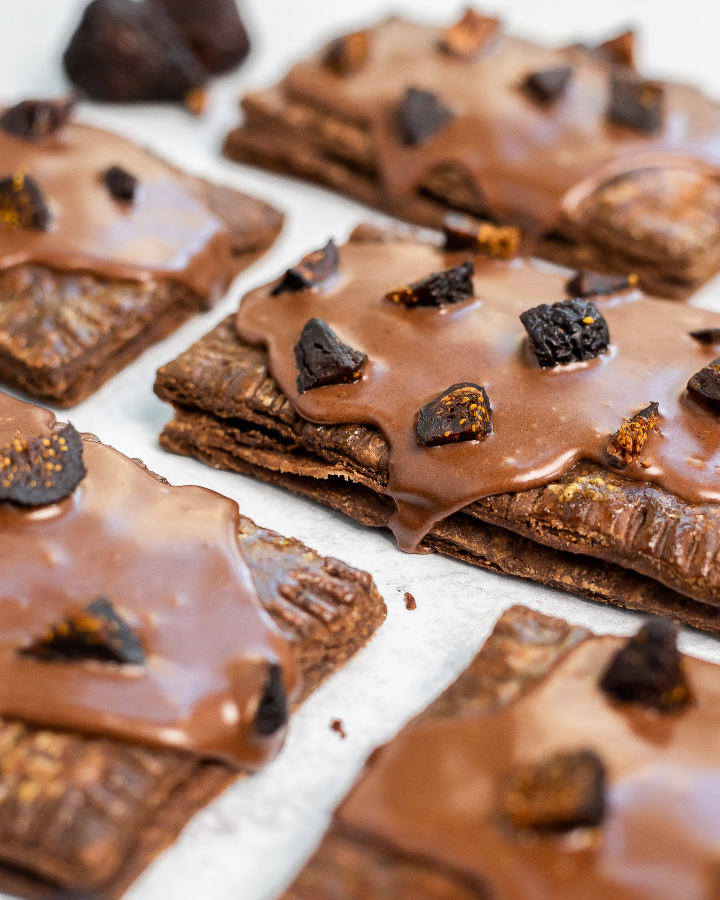
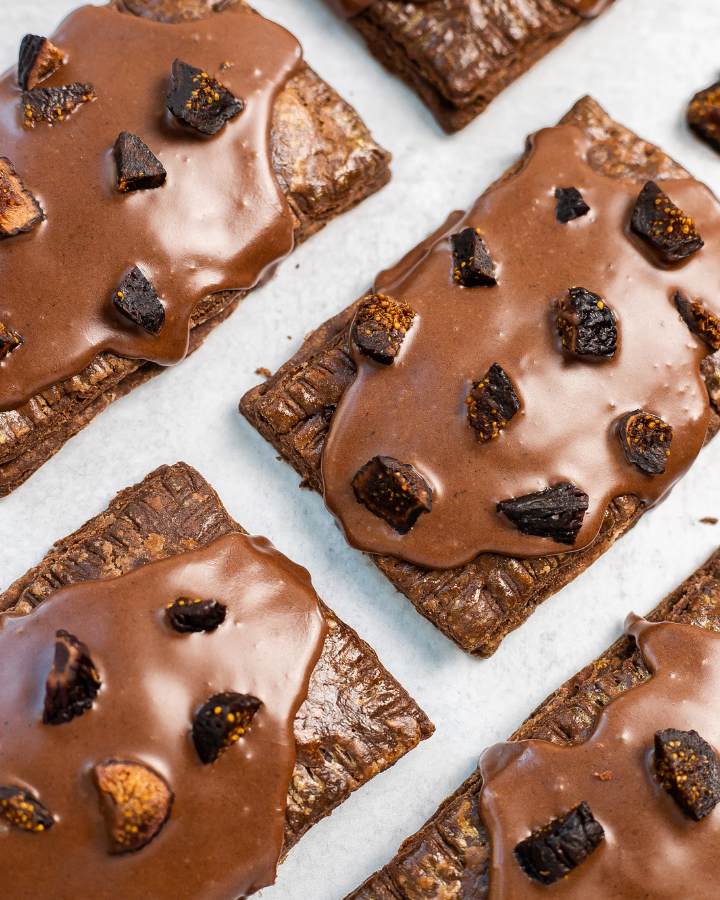
Making pocket pies with chocolate fig filling might just be your new favorite single serve dessert that’s ready to pack for picnics, potlucks, or dessert table. Read on for tips to bake a better pocket pie with chocolate.
Get Your Glaze on Pocket Pies with Chocolate
There’s no wrong way to glaze. Want a thicker or thinner chocolate glaze? For thicker, add small amounts of powdered sugar until desired consistency. For thinner, add small amounts of whole milk until desired consistency. Just a small side note that thicker glaze will harden quicker and be easier to transport.
Chill Out: Keep Butter Cold
The recipe asks you to put the dough in the fridge a few points for 15-minute intervals. This is to keep the butter cold throughout the process! The colder the butter is going into the bake, the flakier your pastry will be because it releases steam during the bake, which puffs the dough up and creates those flaky layers for the tastiest pocket pie with chocolate and fig filling.
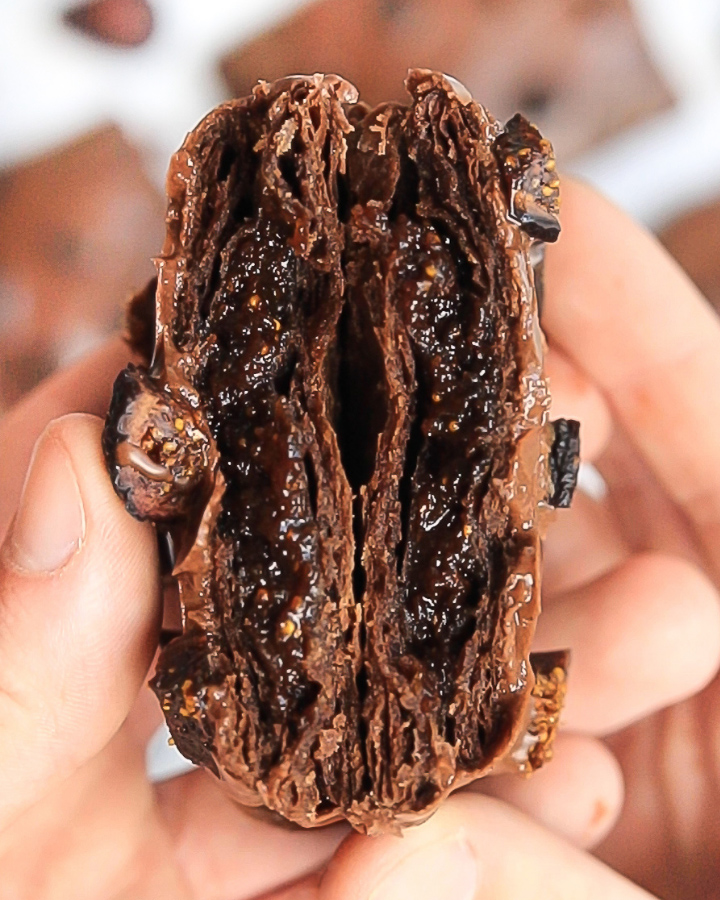
Fudgy Figgy Filling
The filling isn’t as thick as your typical jam, so don’t expect that consistency. It shouldn’t be runny, but will also thicken/come together as you purée the mixture of Orchard Choice and Sun-Maid California Dried Figs in the food processor and then let it cool in the fridge.
Baking Time
It’s harder to tell when chocolate pastry dough is done baking by color (and every oven is different), so just keep an eye on them after 20 minutes to make sure the pocket pies with chocolate and fig don’t brown too much or over-bake.
Storing the Dough
You can store the dough (tightly wrapped in plastic, making sure no air bubbles are trapped) in the fridge for up to 3 days and up to a month in the freezer. Just thaw it overnight in the fridge to use the next day.
Fudgy Pocket Pies with Chocolate Fig Filling
Ingredients
Chocolate Puff Pastry Dough
- 1 3/4 cups (225g) all-purpose flour
- 1/4 cup (20g) Dutch-processed cocoa powder
- 1/2 cup (50g) powdered sugar
- Pinch of table salt
- 2 sticks (226g) cold, unsalted butter (cut into 1x1in. cubes)
- 2 large (105g) eggs , for pastry
- 2 large egg , for egg wash
Fudgy Fig Filling
- 1 cup (200g) granulated sugar
- 1 tablespoon (6g) Dutch-processed cocoa powder
- 7 ounce bag (200g) Orchard Choice or Sun-Maid California Mission Figs , stemmed + quartered
- 1 1/2 cups (350ml) water
- 1 teaspoon vanilla paste
Chocolate Glaze
- 2 cups (250g) powdered sugar , sifted
- 2 tablespoons (6g) Dutch-processed cocoa powder
- 4-6 tablespoons whole milk
- 2-3 Orchard Choice or Sun-Maid California Mission Figs , to dice and sprinkle over the top
Instructions
Make the Chocolate Puff Pastry Dough
- Sift the flour, cocoa powder, and powdered sugar into the bowl of a stand mixer fitted with the paddle attachment. Add your pinch of salt and mix on low speed to combine, about 15 seconds.
- Take the bowl off the stand mixer. Add your cold, cubed butter (must be cold) to the bowl, tossing it around to coat the butter with the flour. Working quickly, flatten each piece of butter by squishing between two fingers (creating little “shingles” of butter). Once you’ve flattened each piece, place your bowl back onto the stand mixer.
- Add your 2 eggs and mix on medium-low speed until just combined (20-30 seconds, no streaks of egg yolk left, you still want to see larger chunks of butter). Gently dump the dough out onto a lightly floured surface, bringing it together with your hands to form a large disc (should still be somewhat crumbly, but hold together). You’re not kneading the dough, just bringing it together. Wrap tightly in plastic wrap and chill in the fridge for at least 1-2 hours (two is best).
Make the Fudgy Fig Filling
- While your dough is in the fridge, make the fig filling! Whisk your granulated sugar and cocoa powder together in a small bowl, then add that to a medium saucepan with your figs (stemmed/quartered) and water. Bring the mixture to a boil over medium-high heat (may take a few minutes). Once it begins to boil, reduce heat to medium-low and simmer for 10-12 minutes, stirring only if the mixture starts to rise near the top.
- After 10-12 minutes (slightly thickened, some of the water has cooked down), take the saucepan off the heat, mix in your vanilla paste, and then pour the mixture into a heatproof bowl to cool down for about 30 minutes.
- Once cool enough to touch, purée the mixture in a food processor until it’s a smooth consistency. Store in an airtight container in the fridge until ready to use.
Assemble + Bake
- Cut your dough in half, leaving one half wrapped tightly in the fridge while you work with the other. Prep a large cookie sheet with parchment paper, set aside. On a lightly floured surface, roll out your dough until ~1/2 or 1/4 in. thick. When rolling, add bits of flour to the surface/top of dough throughout to avoid sticking. Also, gently flipping the dough over and rolling on both sides a few times as you go will help.
- Using a rectangle cookie cutter or knife/pastry cutter, cut out (6) 4×5 in. rectangles, and place them on your prepared cookie sheet. Then, repeat this rolling/cutting process with your other half of dough. Once you have at least 12 rectangles on the cookie sheet, chill them in the fridge for 15 minutes.
- Remove from the fridge. Lightly whisk 1 egg in a small bowl for your egg wash. On half (6) of your rectangles, apply a small amount of egg wash around the border. Scoop 2 tablespoons of the fig filling into the center of each. Place the other halves of dough on top of the ones you’ve just prepared, pressing gently down around the borders to seal the edges. Place back in the fridge for 15 minutes & preheat the oven to 375°F (190°C).
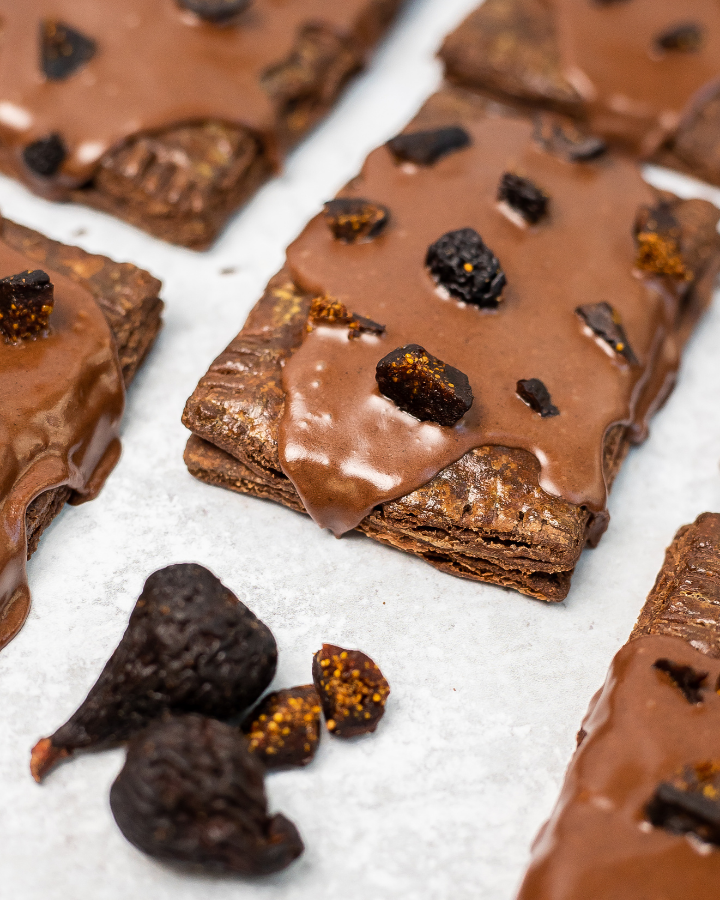
- Take the pocket pies out of the fridge. Crimp the edges with the tip of a fork and poke 3 rows of holes on the top of each (this allows steam to escape during the bake). Generously brush the top and borders of each with your egg wash. Bake at 375°F (190°C) for 20-25 minutes or until desired browning.
- Remove from the oven and let cool on the cookie sheet for 15 minutes, then transfer to a separate cooling rack to cool completely. Once the pocket pies have cooled completely, whisk together your glaze ingredients in a medium-sized bowl until fully combined (adjust for desired thickness). Pour the glaze over each pocket pie & sprinkle with additional bits of figs.