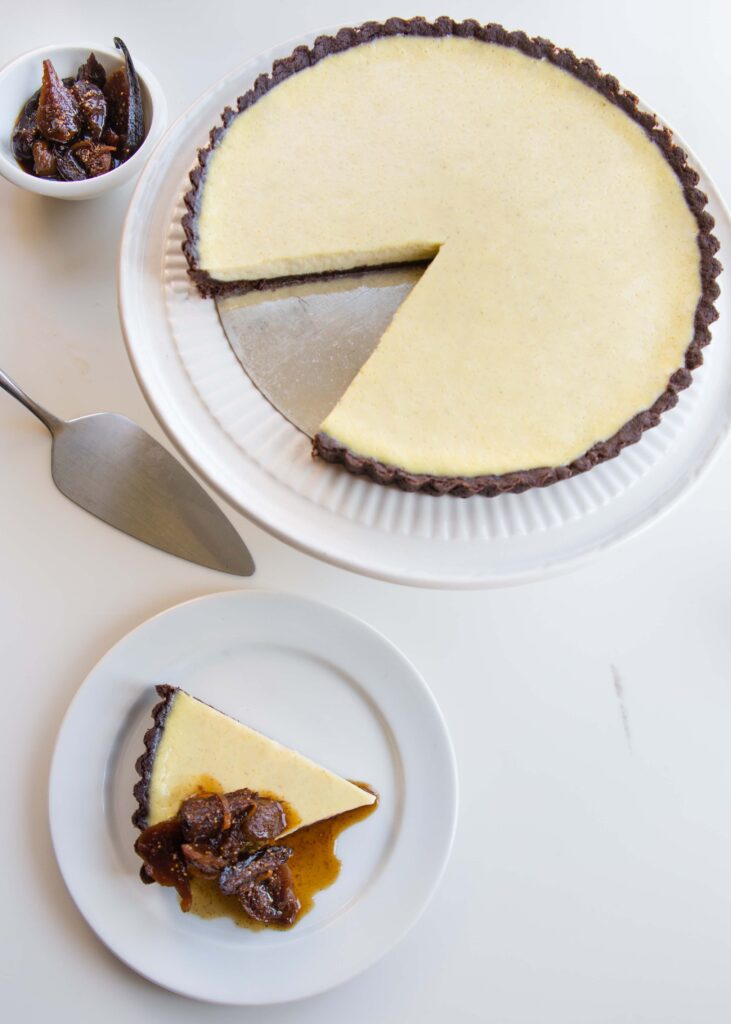
For dessert, you often find three camps: people who like chocolate desserts, those who like dessert with fruit, and those who prefer something in the key of vanilla. This yogurt tart recipe by Alice Medrich brings all those considerations into one delicious yogurt tart, topped with fig compote.
Lighten Up Tart Filling with a Yogurt Tart
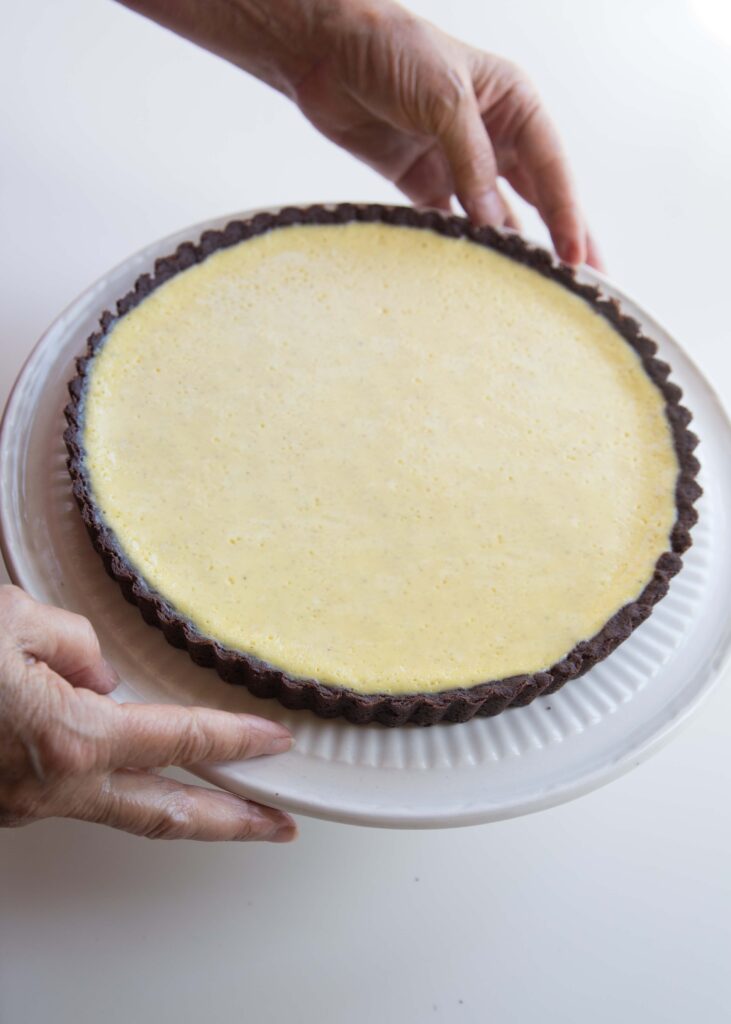
Instead of using cream with eggs, Alice does something brilliant—using whole fat plain Greek yogurt gives a supple texture in a filling that’s not heavy.
A Crust for Chocolate Lovers
Rodelle cocoa powder brings a punch of deeply chocolate flavor to this tender crust that uses just enough flour to hold it together. One thing that can be said about chocolate expert, Alice Medrich’s desserts is that they are just sweet enough—never cloying—definitely desserts for adults.
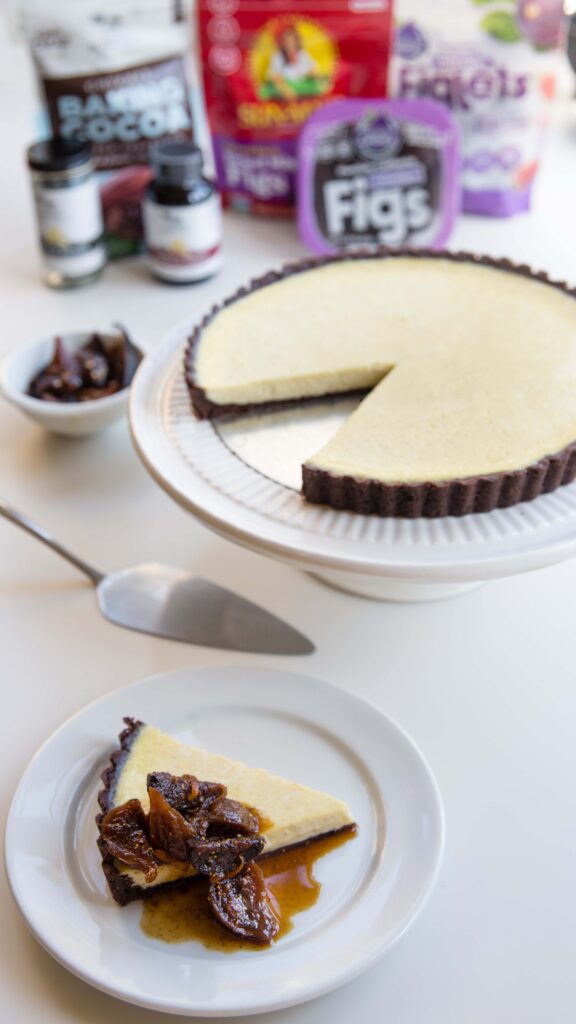
Fig Compote
For the fig compote, Alice likes a combination of Sun-Maid and Orchard Choice Golden Figs and Mission Figs. One reason is for the variety of colors they contribute in the compote, but also for the flavors they introduce. Golden Figs are slightly tangy, nutty, and delicately sweet, whereas Mission Figs have a deeper earthy sweetness. Together, they balance out the tanginess of the yogurt tart filling and the intensely chocolate crust.
Make the yogurt tart recipe for Mother’s Day or Memorial Day. This special occasion dessert is unlike anything you’ve tried before. The tart is best on the day it’s made, but leftovers may be kept in a covered container in the refrigerator for a day or two.
Chocolate + Vanilla Bean Yogurt Tart Recipe with Fig Compote
Equipment
- 9 1/2-inch fluted tart pan with removable bottom
- Rimmed baking sheet
- Pastry brush
Ingredients
Fig Compote
- 6-7 ounces (170-200g) Orchard Choice or Sun-Maid California Figs
- Boiling water
- 2 medium oranges , organic or unsprayed
- 1/4 cup (50g) granulated sugar
- 1 Rodelle Gourmet Vanilla Bean
- Pinch kosher salt
Chocolate Crust
- 3/4 cup (96g) all-purpose flour
- 1/4 cup (21g) Rodelle Gourmet Baking Cocoa Powder
- Scant 1/4 cup (60g) granulated sugar
- 1/4 teaspoon kosher salt
- 6 tablespoons (85g) unsalted butter
- 1 teaspoon Rodelle Vanilla Extract (or Rodelle Vanilla Paste)
Yogurt Tart Filling
- 3 large eggs
- 1/4 cup + 2 TBSP (75g) granulated sugar
- 1/8 teaspoon kosher salt
- 1 1/2 teaspoons Rodelle Vanilla Paste
- 1 1/2 cups (340g / 12oz) plain full-fat Greek yogurt
- 1 large egg yolk , lightly beaten with 1/2 teaspoon of water + a pinch of salt
Instructions
Make the Fig Compote
- Remove the stem tips and cut the figs in quarters. Put the figs in a small saucepan and add enough water to cover them. Bring the water to a boil. Cover the pan and remove it from the heat. Let the figs soften for at least an hour (longer is fine). Do not drain the figs—the water will be used to cook them.
- Use a vegetable peeler to peel 3 wide strips of zest from one of the oranges. Add zest strips to the pot with figs and water. Juice the oranges and add the juice to the pot. Add the sugar and pinch of salt.
- Split the vanilla bean lengthwise and add both halves to the pot. Bring the fig mixture to a simmer and cook, stirring from time to time, until the liquid is reduced and thickened to the consistency of maple syrup (it will thicken even more as it cools).
- Set the pan aside to cool. Refrigerate until needed. The compote keeps in the fridge for at least a week.
Make the Chocolate Crust
- Position a rack in the lower third of the oven and preheat the oven to 350F.
- In a small bowl, whisk to blend the flour, cocoa, sugar, and salt.
- Melt the butter in a small saucepan, taking care not to simmer it. Off heat, stir in the flour mixture and vanilla. Mix to form a soft paste. Scrape the mixture into the tart pan.
- The dough may seem much softer than other tart doughs. Use the heel of your hand and then your fingers to spread the dough all over the bottom and up the sides of the pan. Press it squarely into the corner with the sides of your index finger to prevent extra thickness at the bottom edge, and press it as evenly as possible up the sides of the pan, squaring off along the top edge. Have patience—there is just enough dough (although you may not think so at first). If there is too much dough in one place (or hiding in the corners of the pan), pinch or scrape it off and move it elsewhere. Here's a final trick for a perfectly even crust: Press a sheet of plastic wrap against the bottom and up the sides of the pan and lay a paper towel on top. Set a straight-sided, flat-bottom cup on the towel; press and slide the cup all over the bottom and into the corners to smooth and even the surface. Prick the bottom all over with a fork.
- Set the tart pan on a baking sheet and bake 15-20 minutes until the shell looks set and is dry-ish to the touch.
Make the Yogurt Tart Filling
- While the crust is baking, make the filling: Whisk the eggs with the sugar, salt, and vanilla in a medium bowl. Whisk in the yogurt. (The order in which the ingredients are mixed makes a difference in the smoothness of the filling—so, it's yogurt into eggs rather than eggs into yogurt!).
- When the crust is ready, remove it from the oven and turn the temperature down to 325F. Brush the bottom of the crust very gently with a thin layer of the beaten egg holk to moisture-proof it. Return the crust to the oven for 2 minutes to set the yolk.
- Pour the filling into the hot crust and spread it evenly. Return the tart to the oven and bake until the filling is set around the edges but, when the pan is nudged, quivers like super-jiggly gelatin in the center, 15 to 20 minutes. Check often in the last few minutes, as over-baking will destroy the silky-smooth texture of the filling. Cool the tart completely on a rack. Refrigerate. The tart is best on the day it's made, but leftovers may be kept in a covered container in the refrigerator for a day or two.